
The folding parts of the foldcase consist of 3 parts:
- 3U-Frames with 84 HP from clicks & clocks
- a bent sheet aluminum U-Profile (433×138×62, 2mm material thickness), this is easily optainable at your local locksmith or in online metal retailers
- Steel band hinges (433 mm long) which connect the frames
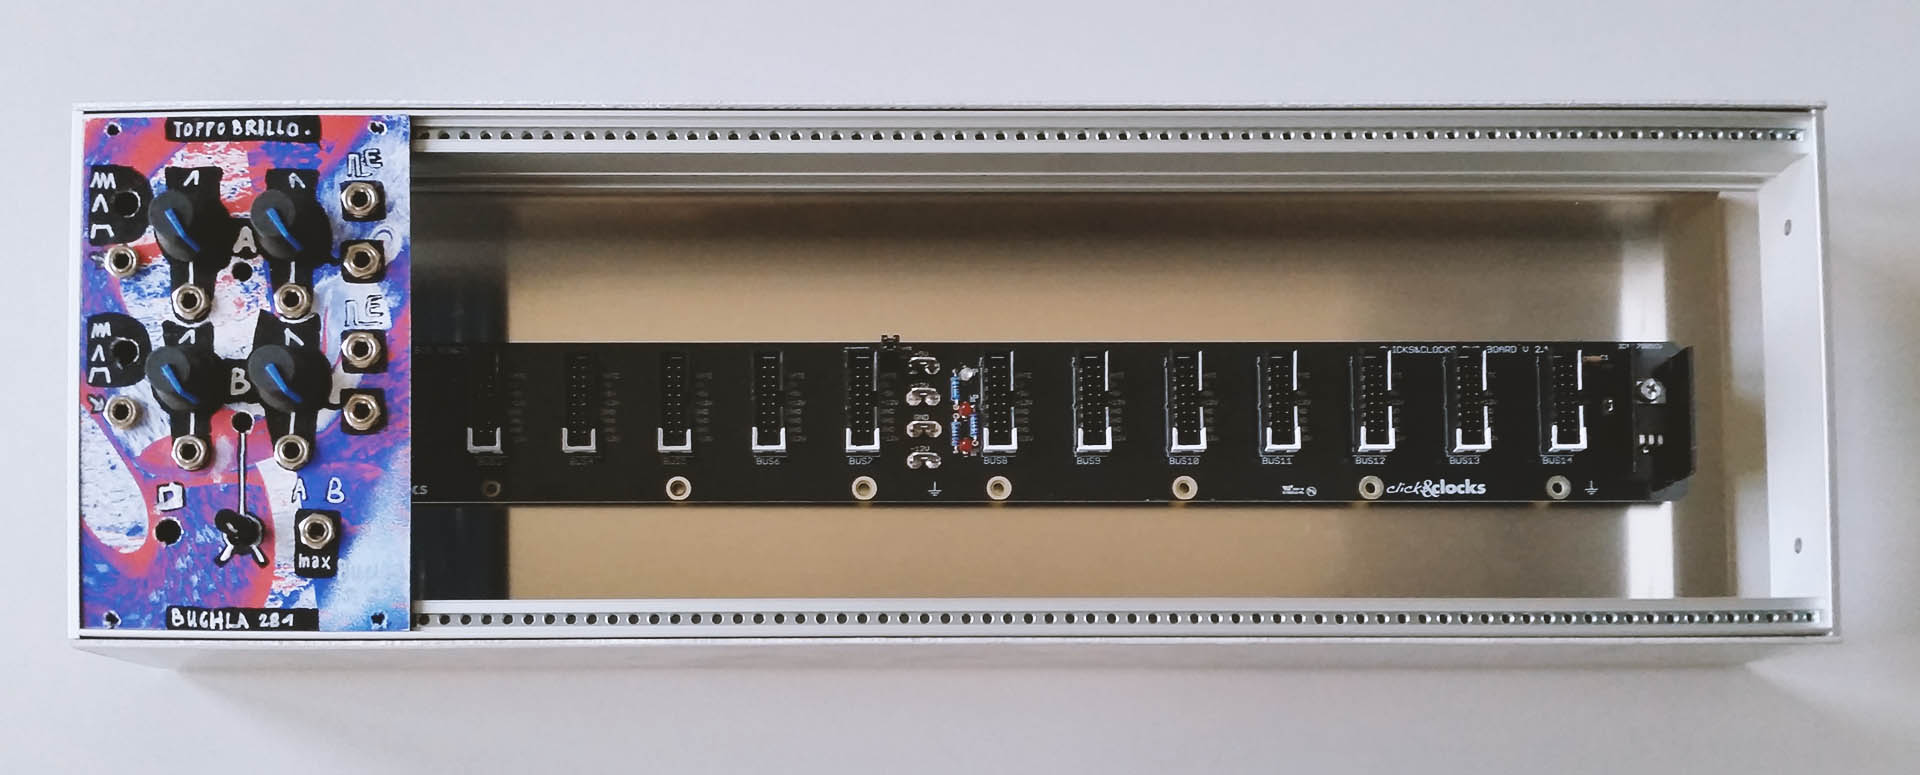
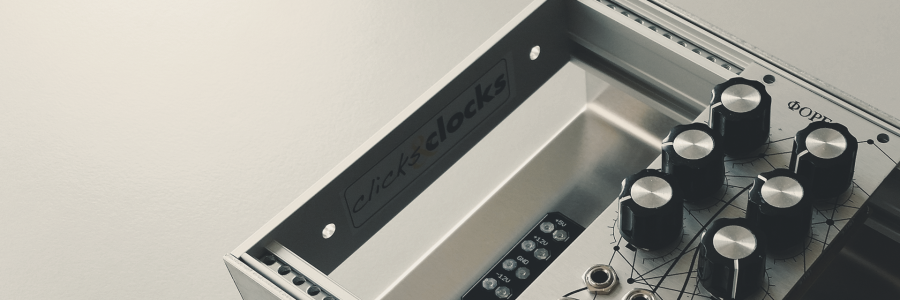
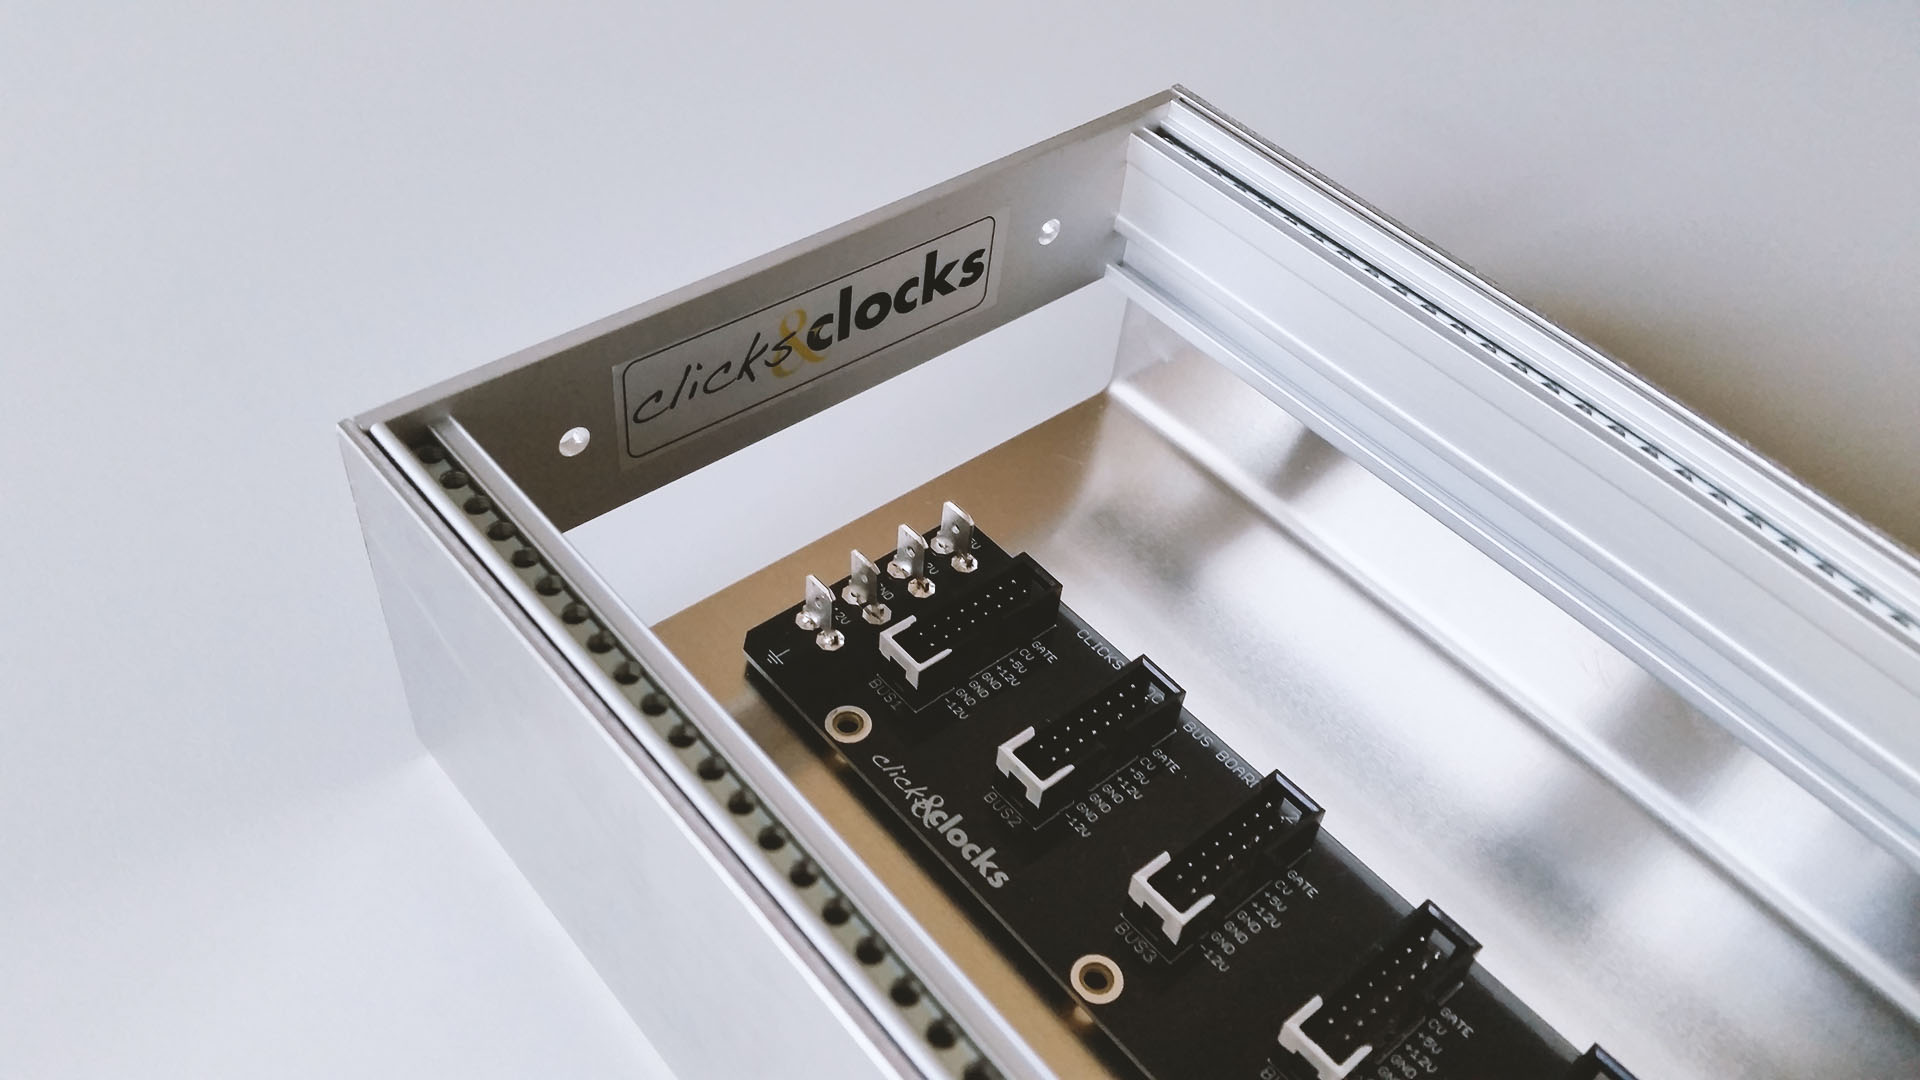
Here you can also see the DIY busboard kit I got from clicks & clock (and a custom DIY panel for Toppobrillo's Buchla 281 clone).

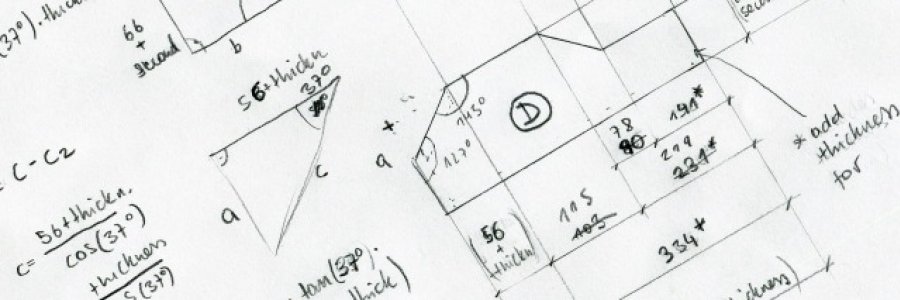
In this post I list all the wood parts needed for the foldcase. I decided to use birch multiplex because it is lightweight, stable, easy to work with and doesn't cost too much. On top of that birch multiplex stays in shape with different temperatures and humidity levels better than massive wood of other trees (there will be a difference in temperature between the inside and the outside when the synthesizer is running for hours).
Overview
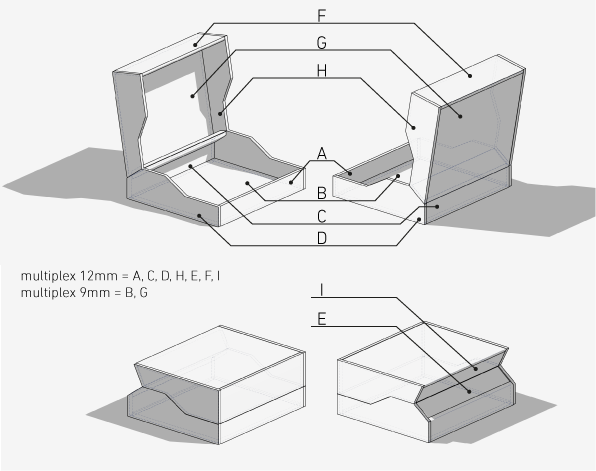
Parts
I decided to use two material thicknesses: 12mm for most parts and 9mm for rear and front plates to save weight. All length units are in milimeters. See the table below for the raw dimensions of the wood.
Because space in my 84 HP rack has already run out, I am currently designing a bigger case. There are many big and overly expensive cases, which were no option for me (plus I actually enjoy building my own stuff). This is the result of multiple design iterations...
First of course I had to set some requirements. I started to do the typical 3 row foldcase (with one row in the middle), that exists in many iterations by many companies (e.g. the Uno by Frap Tools or the Black Widow by Tiptop audio). After some thinking and a few chats with wotwot I decided, it would be better to have four rows. The requirements that I came up with:
- 4 rows
- 1 row with 1U
- One should be able to close it with a patch connected
- In closed state it should stay closed
- Each 3U row should get 1A
This is the design I ended up with – I decided to base it on hinges that connect the single rows with 84HP each equaling to 336 usable HP in total. I made a model in blender with an armature and constraints to find out which angles are needed. Click the fullscreen button, if it is too small for you.
In the top of the hood a stripe of LEDs will be placed for lighting. Color and intensity might even be voltage controlled? who knows?